Sunday, 20 September 2015

GoPro Lens hood

Decided to work on a lens hood for the GoPro to stop any issues with polystyrene coming lose around the exit hole on the payload.

When i made the hole it was no way near as good as the on for the RX100 and ended up also digging away to get a wide enough aperture so that the wide angle of the lens would not catch the outer edges of the hole. I'm a bit worried that i might get bits on the lens or coming lose during flight.

So a few minutes in OpenSCAD and i came up with


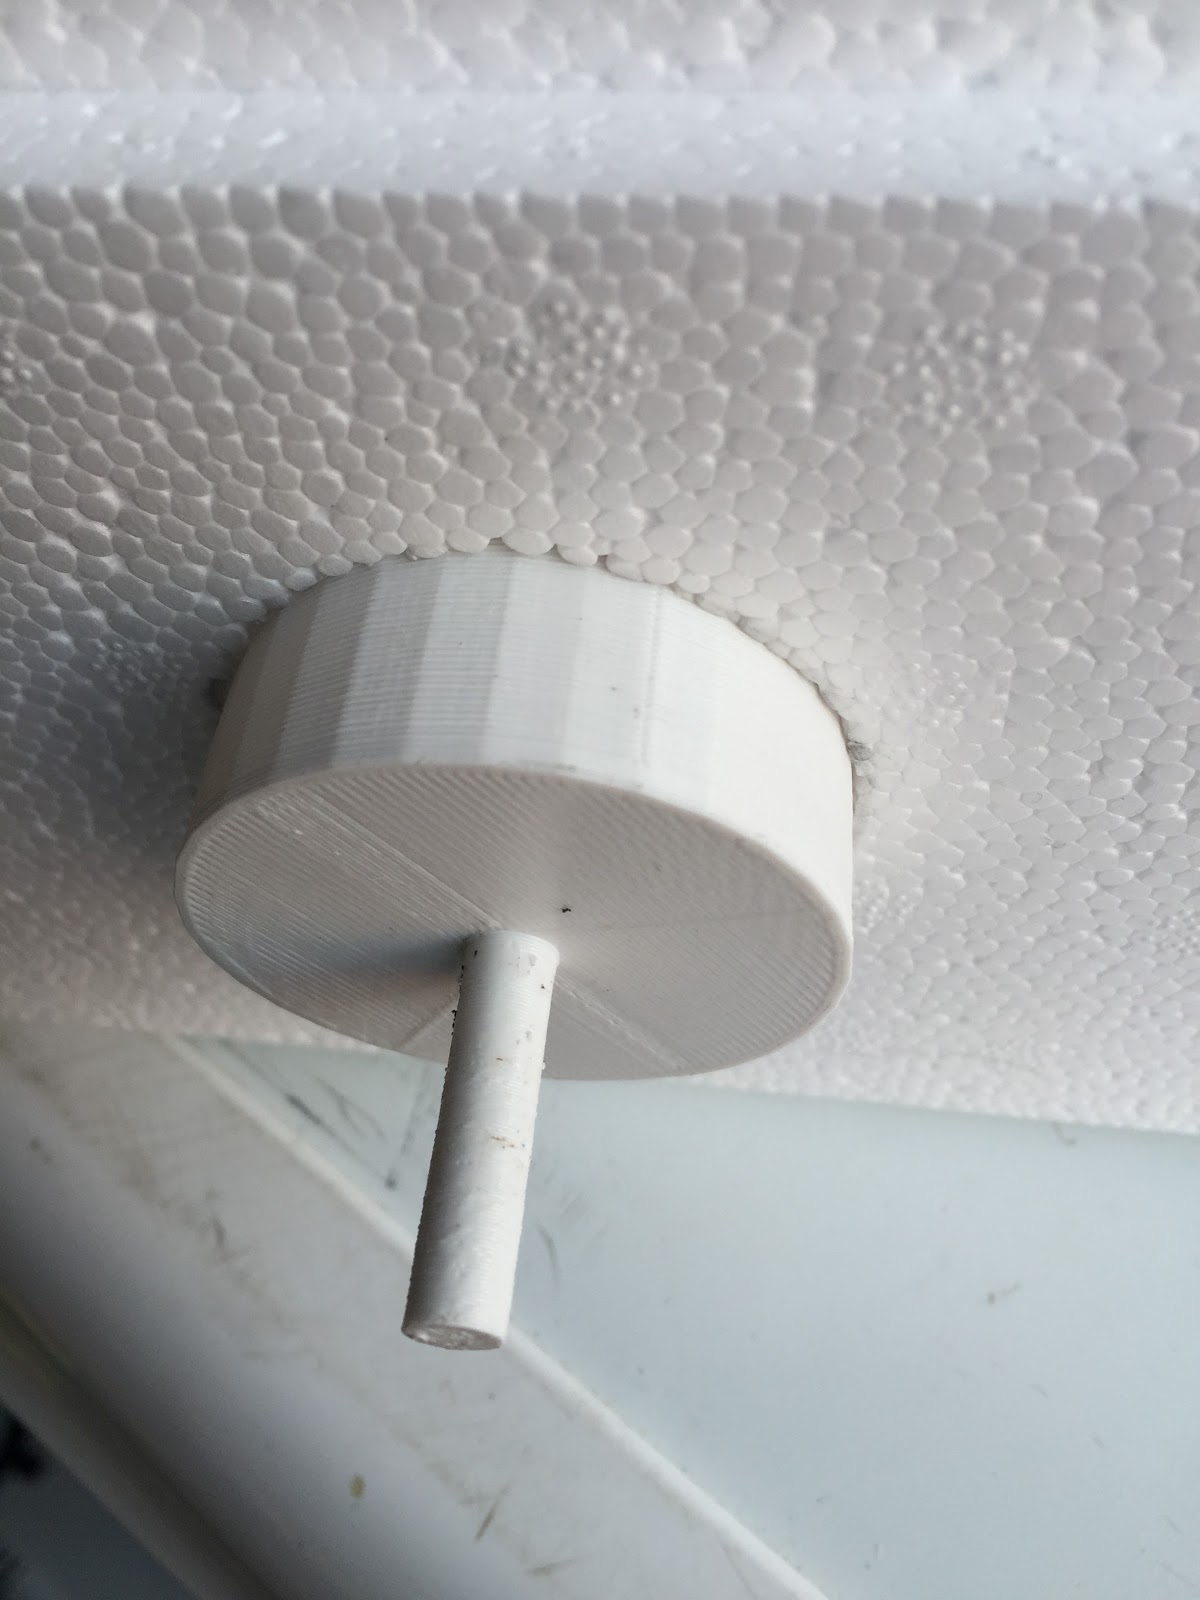
Its printing at the moment so will see what its like in about an hour.


Payload taking shape and almost compelete

Bit more work carried out on payload and started to mount camera etc within. The 3d printed parts have mad wit very easy to remove items etc while i get things ready.


Both the Sony RX100 MkIII and GoPro are mounted on 3d printed parts that allow me to remove the items as required. Also allows for easy routing of the dummy battery for the Sony. 


Links to mounts
GoPro Mount
RX100 Mount

Originals modded from thingiverse RX100 & GoPro

Saturday, 12 September 2015

3D Printed Hole Saw

Been constructing my next payload and it came time to make a hole for the camera lens to see out. Don't own any hole saws and decided to give making one on the 3d printer a go. I could make it any size i wanted.


Hole Saw on Tinkered


Friday, 29 May 2015

NTX2 Radio working with Arduino UNO

Made some good steps forward today with getting my own HAB tracker up and working. Using a number of items i already had from other projects i managed to get the NTX2 radio module transmitting and picking up a signal from a GPS module.

I then went on to add a BMP180 module to act as another sensor i could practice adding into the telemetry broadcast back through the NTX2 radio.

So far have the external temperate added to the telemetry data.

$$$$CML01,115,13:35:29,52.590889,-0.210235,25,0,4,21.16*9005


Took a bit of doing but slowly understanding changing  between variables and working with strings. Still need to work on ensuring things like flight mode kick in on the GPS so it works at high altitude.


Sunday, 17 August 2014

3D Printed Replacement Battery for GSM/GPS Tracker

So far not had very good results with the GSM/GPS tracker. A lot of it comes down to not being sure the thing is even turned on and not convinced about the batteries. With this in mind i have looked to replace the existing replaceable battery with a 3d printed dummy that can be hooked up to another lithium cell such as a 18650. To keep things simple i removed the contacts from an existing battery so that i would not have a problem getting things to line up.
Still needs wiring up etc but a good start and fits. Will need to cut a small hole for the wires to exit the case, or perhaps make a new back cover :-)

Saturday, 16 August 2014

Video camera power

UPDATE:- So some good progress with powering the device with original small battery and a 18650 supplying 5vdc through a cheap booster.  This time the camera functioned till i removed it from freezer after 2hrs20. I was able to still control all functions and stop the recording. Upon checking the sd card had data for all the time span as well.

UPDATE:- Ok so mixed results. Under 18650 power i managed just over an hour before the camera looks to have stopped writing to the SD card. It was still showing LED wise that it was recording but data stopped being written to the card after 1hr 17. Trying in the freezer this time it would seem that at -28Cish the battery was still reading 4.15volts. Condensation was a factor and think might have caused a few issues with recording. Going to rerun tests and see what results are this time.

So with the video cameras we are looking to use they are normally powered by usb 5vdc and only have a tiny battery for things like powering the clock and keeping the system alive for a few minutes after power is pulled. the battery actually within the make and model we are using is only 180mah. First job was to split the camera apart and see the location of the battery and figure out how we can power it for longer with out having to supply 5vdc through the usb socket. The pictures below give an idea of the setup in taking apart and also the battery itself. It was easy once i figured out the first step.
Once i had the camera open i was able to desolder the existing battery and connect up to a bench power supply. From this i was able to supply a stable 3.9volts to the camera and see what power drain detected in the different modes. Camera standby 20ma Camera record screen on 30ma Camera record no screen 27ma this suggest that a 18650 battery would be a good power source for extended records times. The next step is to test to see how well it can operate at low temperatures that it might experience. One positive is that we can separate power source so worse case a hand warmer can be used to keep power source warm while camera is external.